Logo is the most vital part of your theme design. If you’re using the site title as logo, you needn’t worry about this tutorial. However, if you’re using an image logo, this guide can save you precious time.
Nearly all Genesis themes come up with a feature that allows you to use your logo. However, different themes come with different header sizes. In order to use your logo, you may have to follow a few simple steps.
Let’s take the example of Genesis Sample theme. It recommends a header size of 600 x 160 pixels. Therefore, your logo should have the same dimension to fit in the box.
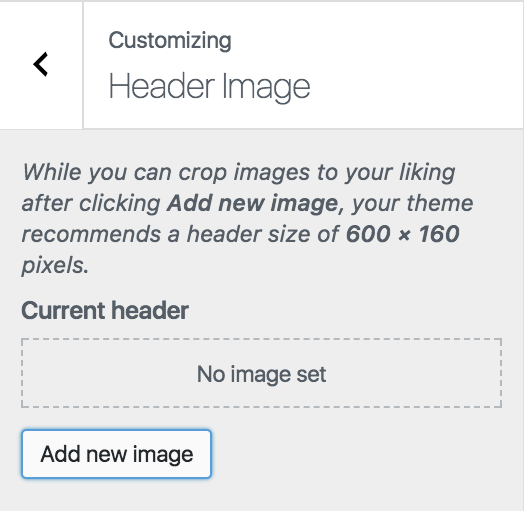
When your logo designer hand over a logo file, it must be larger than the specified header dimension of your Genesis theme. You can’t use the same logo directly because you will need to crop your logo to fit the specified header dimension.
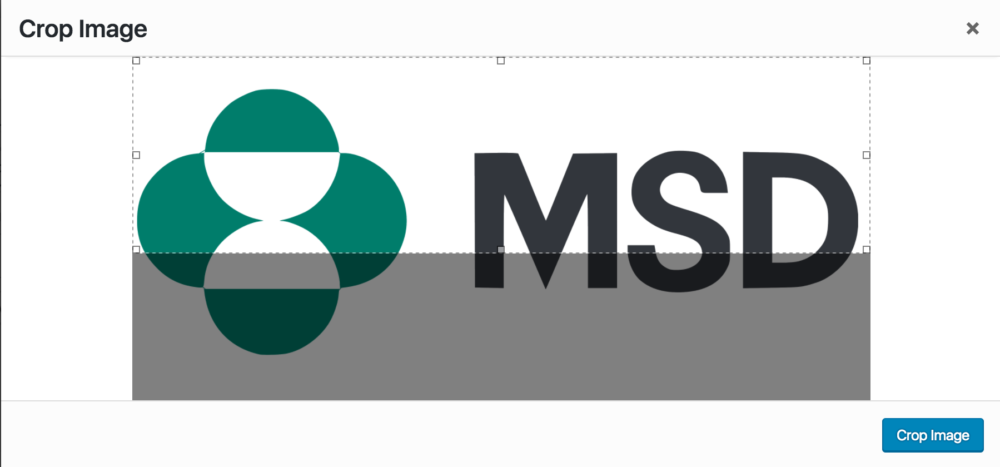
So, you will need to resize your logo with the help of a tool. My favorite tool for resizing images and logos is PicMonkey.com.
Here’s how to go about it.
Go to PicMonkey.com, and resize your logo. Upload your logo and change the value of your height. For example, in the screenshot above, my header had a 3979 x 1848 pixels. So we need to replace 1848 pixels with 160 pixels. When we do that, the width will automatically change to 344 pixels (see screenshot below).
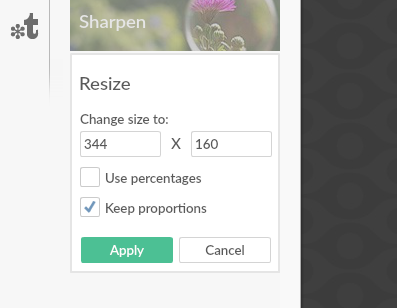
Then we will click on Apply button and then click on Export button to download the resized logo for your Genesis header.
The next step is to upload the resized logo. Go to Customize > Header in Genesis Theme. Here, you can upload your resized logo.
Add the new logo and click on Skip Cropping to see your logo appear in the header section.
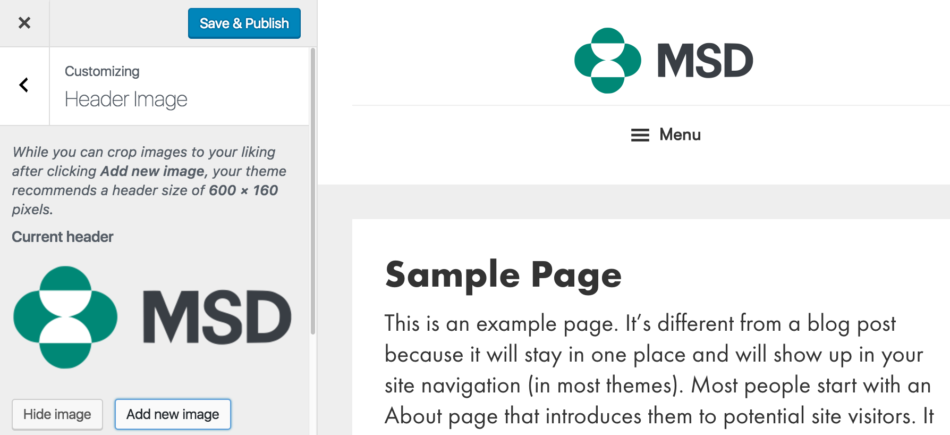
That’s it! Save your work and refresh your browser to see your new logo appear on the header.
Here’s what it looks like:
Using a Custom Height for Logo in Genesis Header
At times, you might want to use a custom height for your logo. Recently, a Genesis WordPress Facebook Community member wanted help for this exact situation.
I am trying to set logo size to something bigger, let’s say maybe 600x400px. I have edited the code in functions.php accordingly, but my image always stays the same. Any thoughts?
In such a case, you need to go to your functions.php and change value of your default header.
Find the following code in your functions.php
// Add support for custom header.

add_theme_support( 'custom-header', array(

'width' => 600,

'height' => 160,

'header-selector' => '.site-title a',

'header-text' => false,

'flex-height' => true,

) );
And change the value of width and height as shown below. You can add any value as per the width and height of your custom logo.
// Add support for custom header.

add_theme_support( 'custom-header', array(

'width' => 640,

'height' => 520,

'header-selector' => '.site-title a',

'header-text' => false,

'flex-height' => true,

) );
One you’re done with it, find the following code in your css file.
.header-image .site-title > a {

background-position: center !important;

background-size: contain !important;

float: left;

min-height: 80px;

width: 100%;

}
And change the value of minimum height to whatever size you have in your custom logo. For the sake of this example, we will change the minimum-height to 400px.
Save your work and refresh your browser.

