


There are many WordPress users like me who want to write their drafts directly using the default visual editor.
With the release of WordPress 4.6 “Pepper” on August 16, 2016, WordPress added the Native Fonts feature, meaning the WordPress would use the fonts available on your system’s operating system. This was done to ensure WordPress loaded faster and made you feel more familiar with the font interface.
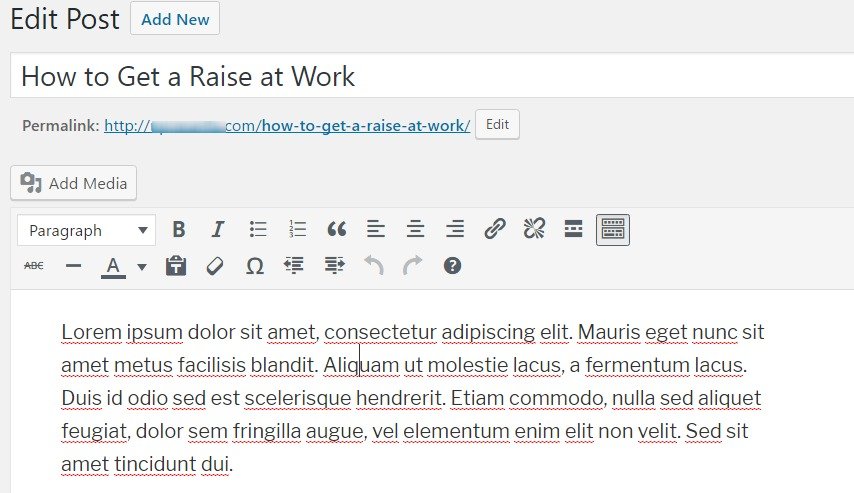
As of today, the default visual editor in WordPress looks like this:

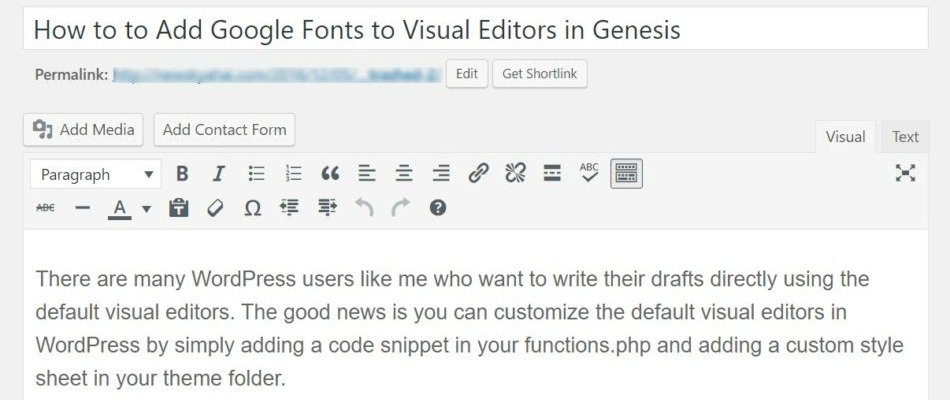
If your website is running on Genesis Framework, the default visual editor may appear like this:

But what if you want to customize it to suit your own needs?
The good news is you can customize the default visual editor in WordPress by simply adding a code snippet in your functions.php and adding a custom style sheet in your theme folder.
Caveat: Don’t try this unless you’re comfortable using FTP.
If you’re familiar with using FTP, just follow the steps below:
Step #1: Add the Following Code to functions.php of Your Active Theme
Step #2: Create a Custom Style Sheet and Add the Following Code
Important: Name it “custom-styles.css”
/* Custom Typographical Elements
——————————————— */
body {
background-color: #f6f5f2;
color: #333;
font-family: ‘Lato’, Raleway, sans-serif;
font-size: 18px;
font-weight: 400;
line-height: 28px;
background: #fff;
}
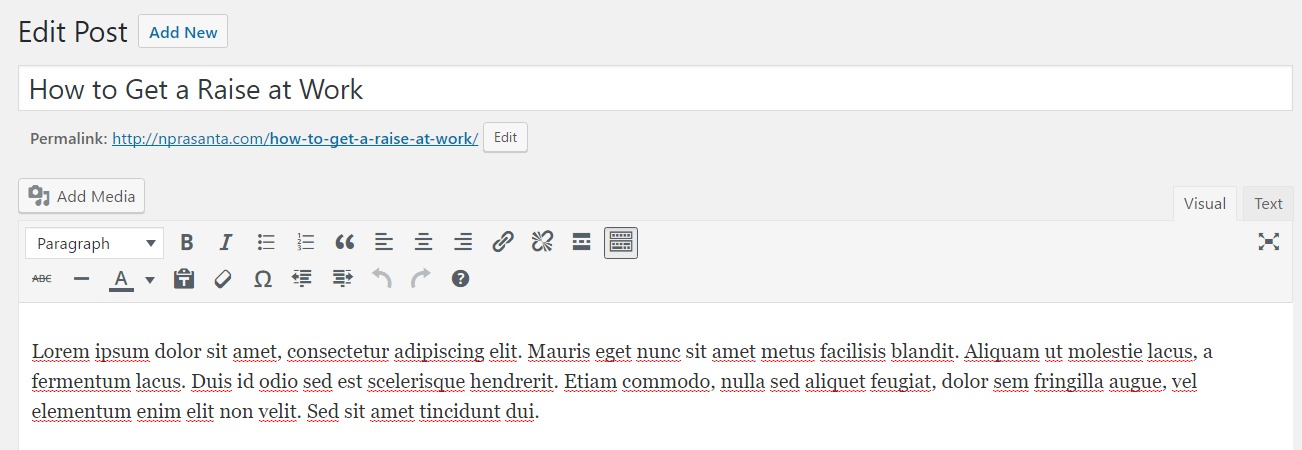
That’s it!
You should be able to see your favorite Google fonts as default in your Visual Editor.
Please, note that you could use any font family in the custom CSS style sheet as long as it’s enqueued in your functions.php file.
Let me know in the comment box if you have any questions.
Courtesy: I’ve borrowed the code from Carrie Dils who has been a constant source of my Genesis Happiness!