


Search widget is a key component of websites. It helps visitors find what they are looking for. For websites running on WordPress, search widget is a default feature. In fact, a lot of websites use this default Search Widget on their sidebar. The only problem is the default search widget in WordPress doesn’t do a very good job.
Why Using Default WordPress Search Widget isn’t a Good Idea
- It fails to find relevant results
- It builds a complicated SQL statement to query your database
- It consumes your server resources
The good news is there’s a very sophisticated alternative to this search widget: Google Custom Search Engine.
Google Custom Search Engine indexes your website better and delivers better results without consuming your server resources since it uses its own server resources.
How to Use Google Custom Search
- Use any WordPress Plugin designed for Google’s CSE
- Integrate Google’s CSE via Custom Template
While the first option is possible, it’s server-intensive. Again, the conventional wisdom tilts in favor of using a custom solution rather than using a WordPress plugin for security purposes.
This post, however, covers how to integrate Google’s CSE via custom template in Genesis Framework.
So, let’s do it step-by-step.
Step #1: Create a Custom Search Engine
Head to https://cse.google.com and follow simple steps to create a Search ID for your domain.
Step #1: Click on the “New Search Engine” option to create a new search ID for your domain.
Step #2: Enter your domain URL and give it a name you can remember.
Step #3: Click on the “Look and Feel” option and then click on “Results Only” option.
Step #4: Click on “Save & Get Code” button.
Step #5: Select and Copy the var cx code located within single quotes.
For this website, my var cx code is 009207387254342845265:fgfckl0x_be
Step #2: Create a Custom Template for Google Search Engine
This step requires you to be very comfortable with using FTP (such as FileZilla). If you’re not, install a plugin instead.
Assuming you’re using FTP, create a file named “page_googlecse.php” within the active theme folder and paste the following code inside the file.
IMPORTANT: After you’ve pasted the code, replace the existing Search ID with your own Search ID. Then save the file.
Step #3: Add the Following Code to Your Active Theme’s functions.php
IMPORTANT: Save the file.
Step #4: Add the following CSS
In order to tweak the appearance, you may want to tweak your CSS. Add the following CSS but make changes based on your theme. This step is optional.
Step #5: Create a New Page in Your Site
Head over to your website and create a new page. Name it Search/Search the Site or whatever you thin make sense to your visitors.
However, make sure the slug in the permalink is “search”. On this website, the permalink is https://leaguewp.com/search.
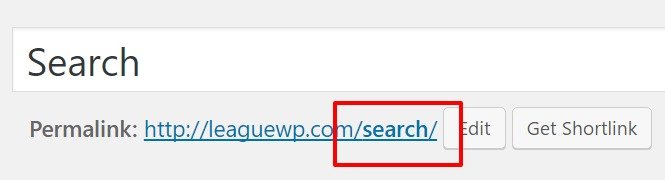

IMPORTANT: Under the Page Attributes > Template, choose Google CSE, and then save the page.
Step #5: Test It
Go to your blog page or anywhere you’ve used the search widget and do a test search to see if you’re able to see the results in the following manner.
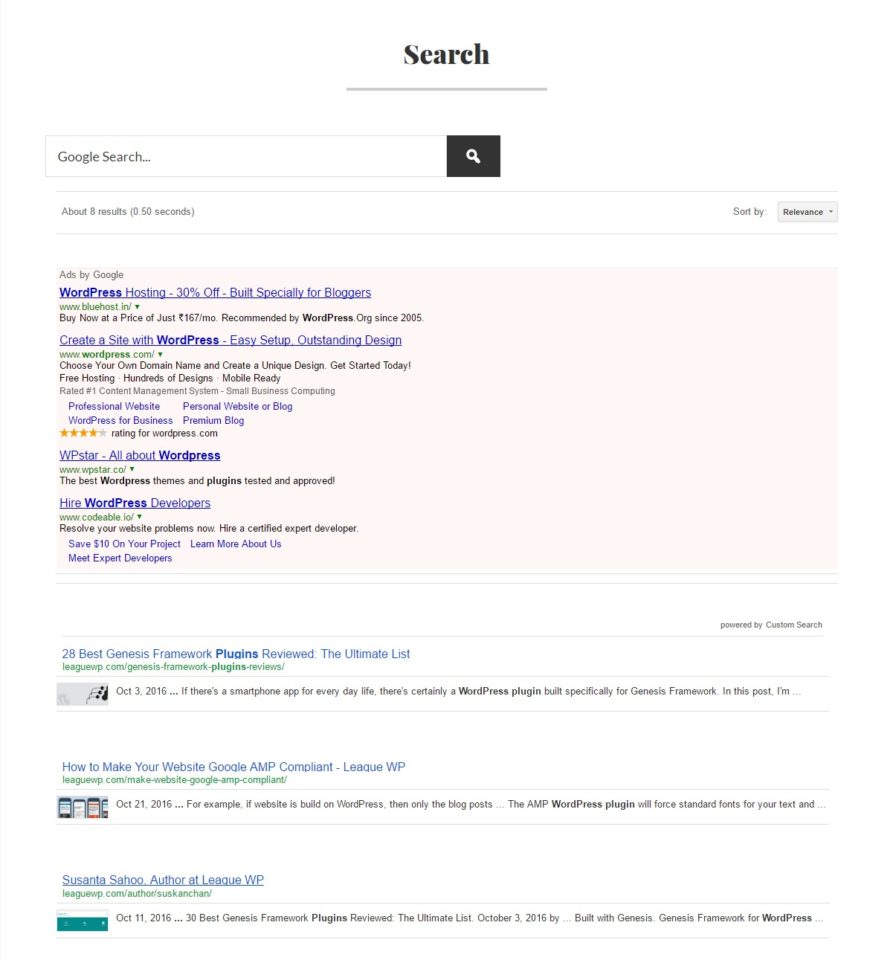

If there are any issues, let me know in the comment box below.