


The Genesis League Pro theme features a minimalist and clean design. While this theme is based primarily on Genesis Sample, it also borrows from several features from other popular Genesis themes. The theme is completely free to download. If you’re unfamiliar with Genesis framework and settings, this guide will walk you through the entire process of installing and configuring your site to make it look exactly like the demo site. Here’s a step-by-step approach to setting up League Pro child theme.
What Do You Need for the Set-up?
In order to use League Pro Theme, make sure your website runs on the following (Mandatory).
- WordPress version 3.6+
- Genesis Framework version 2.0+
Moreover, the League Pro theme has used the following plugins (Optional):
- Genesis – eNews Extended Widget
- Featured Custom Post Type Widget for Genesis
- Genesis Off Canvas Mobile Menu
- Ninja Forms
Once you’re done installing the above themes and plugins, follow the steps below.
Configure Genesis Theme Settings
Step #1: Install the League Pro theme (Download the Theme)
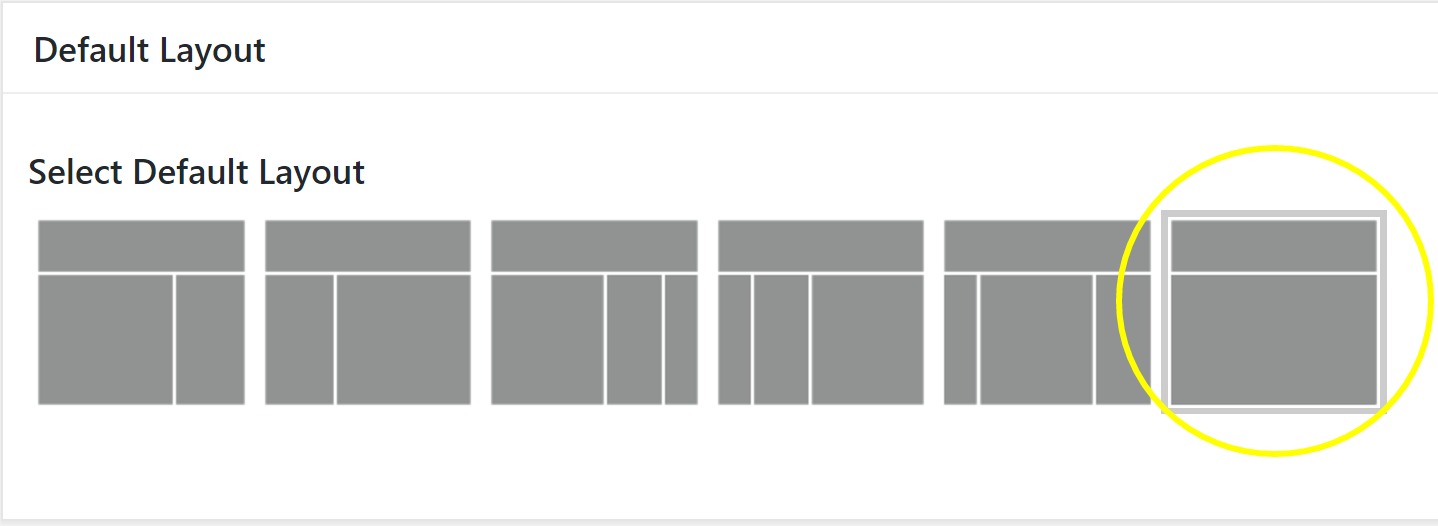
Step #2: Configure Layout under Genesis Theme Settings

Step #3: Configure Header Option under Genesis Theme Settings
![]()

Step #4: Configure Content Archives under Genesis Theme Settings


Step #5: Click on Save Changes under Genesis Theme Settings
Configure Header Menu Widgets
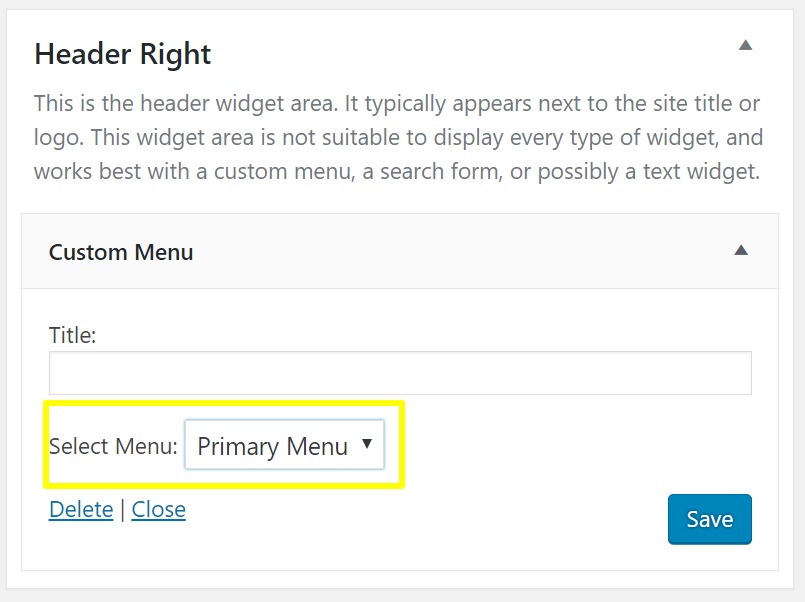
Step #6: Drag Custom Menu Widget to Header Right and Select Menu

Configure Primary Sidebar Widgets
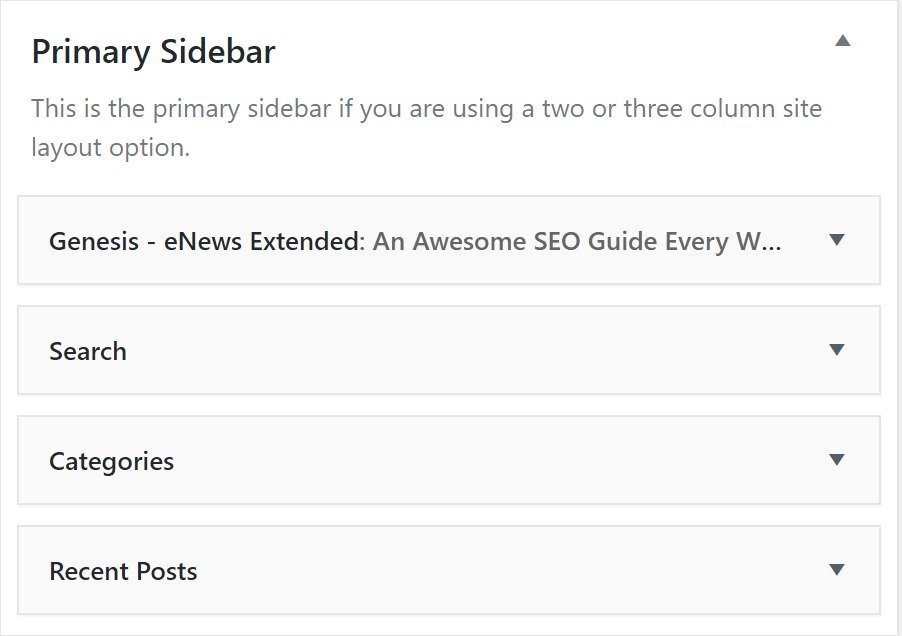
Step #7: Drag Genesis eNews Extended Widget to Primary Sidebar (Configure it)

Step #8: Drag Search, Categories and Recent Post Widgets to Primary Sidebar (Configure Them)

Configure Front Page
Step #9: Drag a Text Widget to Home Section 1 and Home Section 2


Step #10: Enter the Demo Content in Home Section 1 and Home Section 2 (Click on Save)
Demo Content for Home Section 1
Title:
A Genesis Theme for Every One
Content:
Lorem ipsum dolor sit amet, consectetur adipiscing elit. Mauris eget nunc sit amet metus facilisis blandit. Aliquam ut molestie lacus, a fermentum lacus. Duis id odio sed est scelerisque hendrerit. Etiam commodo, nulla sed aliquet feugiat, dolor sem fringilla augue, vel elementum enim elit non velit. Sed sit amet tincidunt dui.<br><p><a class="button" href="#">Lean More</a></p>
Demo Content for Home Section 2
Title:
About Our Team
Content:
Lorem ipsum dolor sit amet, consectetur adipiscing elit. Mauris eget nunc sit amet metus facilisis blandit. Aliquam ut molestie lacus, a fermentum lacus. Duis id odio sed est scelerisque hendrerit. Etiam commodo, nulla sed aliquet feugiat, dolor sem fringilla augue, vel elementum enim elit non velit. Sed sit amet tincidunt dui.<br><p><a class="button" href="#">Learn More</a></p>
Note: Be sure to select “Automatically add paragraphs” under each text widget and click on save.
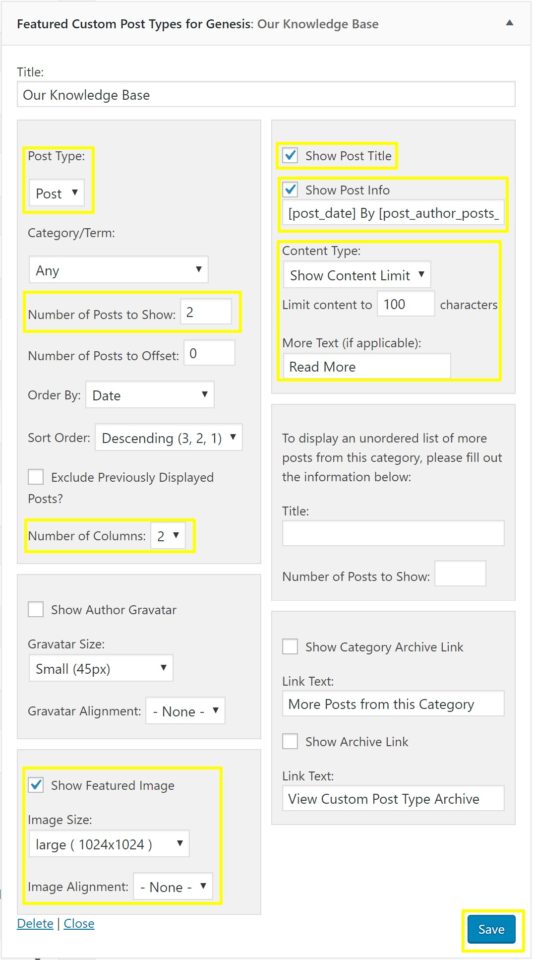
Step #11: Drag Feature Custom Post Types for Genesis Widget to Home Section 3 (Configure it)

Step #12: Drag a Text Widget to Feature 1, Feature 2 and Feature 3 Sidebars
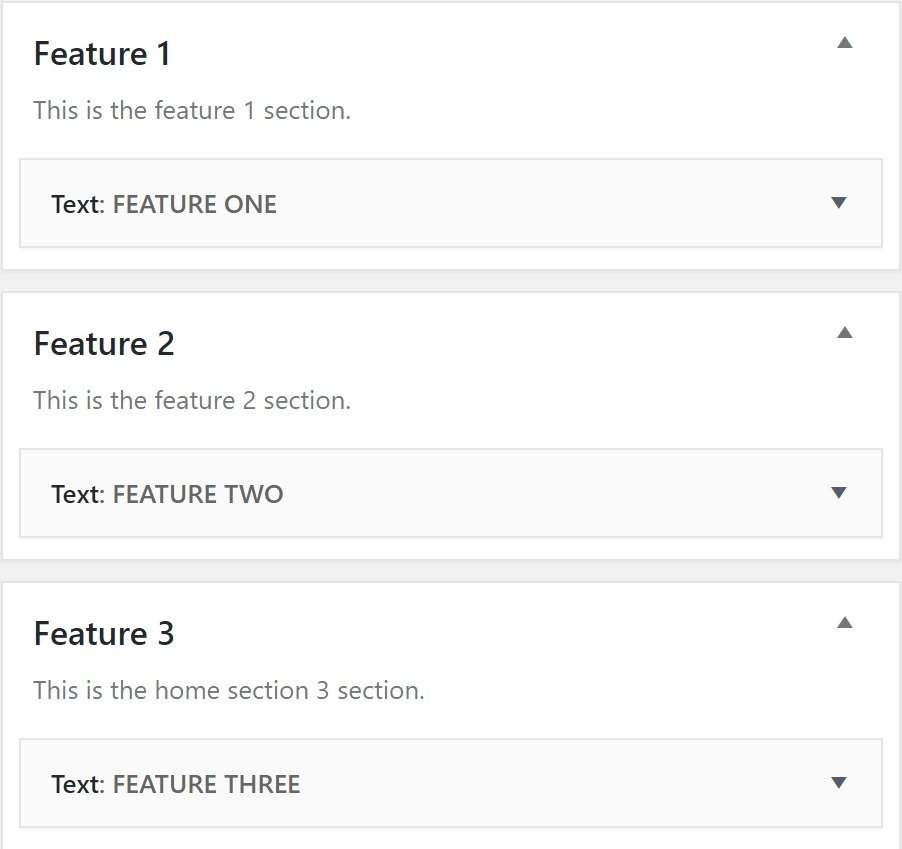

Step #13: Enter the Demo Content in Those Widgets (Click on Save)
Demo Content for Feature One
Title:
Feature One
Content:
<i class="fa fa-desktop"></i><br>Lorem ipsum dolor sit amet, consectetur adipiscing elit. Mauris eget nunc sit amet metus facilisis blandit. Aliquam ut molestie lacus, a fermentum lacus. Duis id odio sed est scelerisque hendrerit.
Demo Content for Feature Two
Title:
Feature Two
Content:
<i class="fa fa-laptop"></i><br>Lorem ipsum dolor sit amet, consectetur adipiscing elit. Mauris eget nunc sit amet metus facilisis blandit. Aliquam ut molestie lacus, a fermentum lacus. Duis id odio sed est scelerisque hendrerit.
Demo Content for Feature Three
Title:
Feature Three
Content:
<i class="fa fa-heart-o"></i><br>Lorem ipsum dolor sit amet, consectetur adipiscing elit. Mauris eget nunc sit amet metus facilisis blandit. Aliquam ut molestie lacus, a fermentum lacus. Duis id odio sed est scelerisque hendrerit.
Note: Be sure to select “Automatically add paragraphs” under each text widget and click on save.
Configure Footer Widget
Step #14: Drag a Text Widget to Footer 1 and Enter the Demo Content (Click on Save)
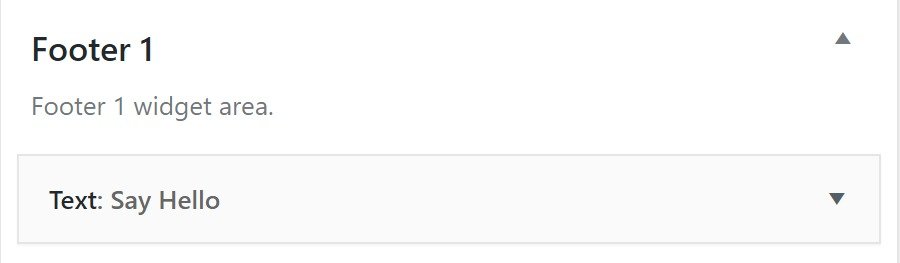

Demo Content for Footer Widget
Title:
Say Hello
Content:
Contact us to kick things off. This will be more fun than you think!<br><p><a class="button" href="#">Let's Get Started</a></p>
Note: Be sure to select “Automatically add paragraphs” under each text widget and click on save.
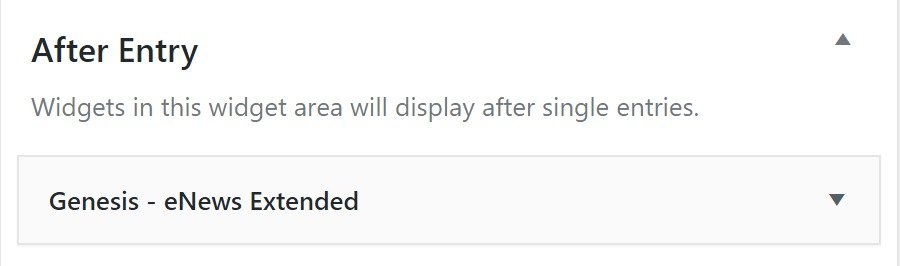
Configure After Entry Widget
Step #15: Drag Genesis eNews Extended Widget to After Entry Section (Configure It)

Hope you find this guide helpful. If you have any questions regarding setting up the theme, contact me.