


If you have a blog and multiple categories, you want to display them prominently to your visitors. This not only helps them navigate your blog section easily but boosts site engagement as well.
Displaying categories on the sidebar is standard practice. However, these days, many sites tend to go sidebar-less to highlight the main content on their blog.
True, a few bloggers prefer showing their best content on their sidebar, but according to Usability Geek, using a sidebar should be purposeful.
In fact, Bryan Harris claims his website saw a staggering 26% boost in conversion rate after he ditched the sidebar.
Removing sidebar might make it a bit challenging for your to display necessarily widgets such as newsletter and popular search on your blog.
Luckily, Genesis Framework makes it for its users to display their newsletter and popular posts in many different ways by using hooks and filters. In fact, it’s one of the reasons why I switched to Genesis Framework in 2014.
While I appreciate the potential benefits of removing sidebar from my website, I’d still like to show categories prominently so my visitors can easily navigate the blog.
Do you also feel this way?
Then you might find this tutorial useful.
What’s the Purpose of this Tutorial?
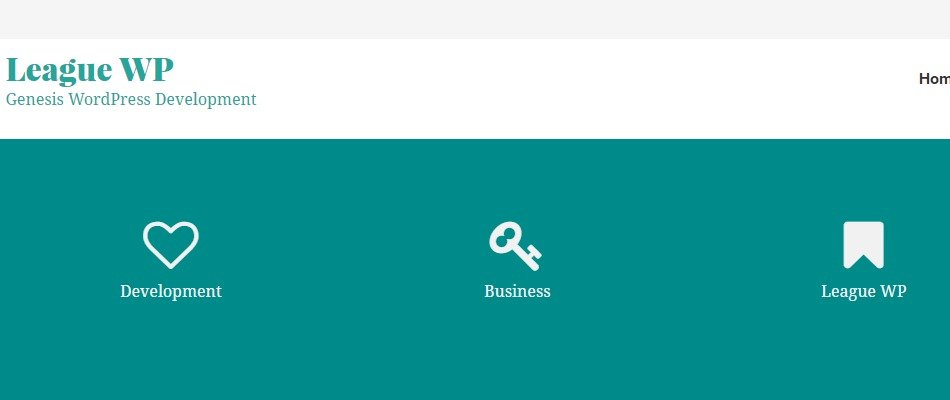
This tutorial aims to display categories as the primary menu in your Genesis theme and style it with font awesome icons.
Moreover, this tutorial takes inspiration from ManageWP blog.
Here’s a screenshot of their blog page.
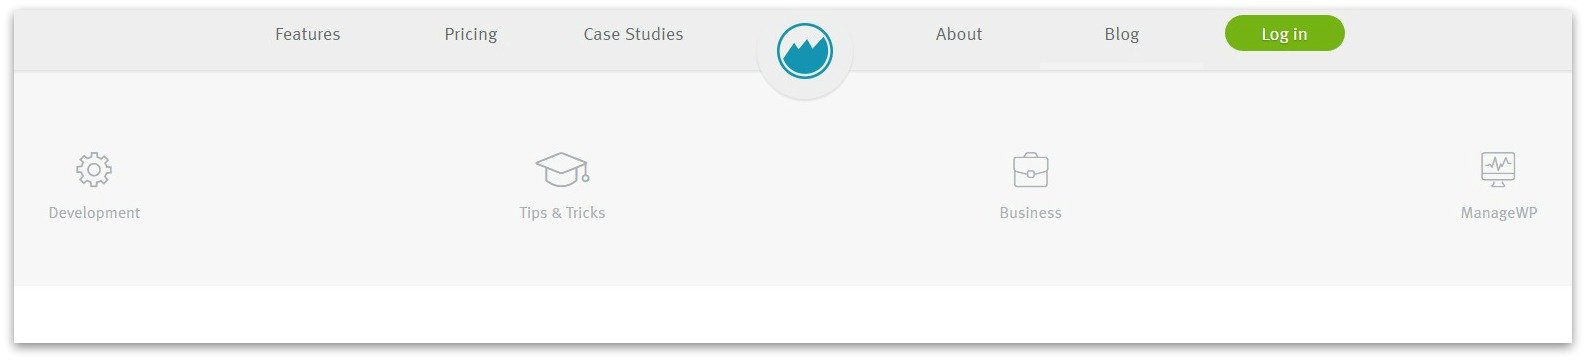

This tutorial will help you display the categories below the header conditionally, meaning, only on specific pages such as blog home page, archive pages and single posts.
Of course, you could tweak both PHP code snippets and tweak CSS snippet to match your own project requirements.
Show Me the Code
We will achieve the results in the following steps:
Step #1. Creating a New Menu for Categories and setting it as Primary Menu under Menu Settings.
Step #2. Adding scripts for Font Awesome to our Genesis themes.
Step #3. Customizing the primary menu (vis CSS code) and adding font awesome icons to our primary menu items.
Step #4. Adding php code to display category menu conditionally.
So, let’s dive in.
Step #1. Create a New Menu for Categories
Go to Appearance > Menus > Click on Create a New Menu > Drag and Drop Categories > Check the tick box beside Primary Navigation Menu under Theme Locations and then click on Save Menu.
Note: We’ll need to revisit this area later in order to add Font Awesome classes.
Step #2. Add the following font awesome code to your Genesis Child theme’s functions.php file. Skip this step if it’s already added.
Step #3. Add the following code to your child theme’s style.css file.
Tweak the code as needed to match your theme’s design.
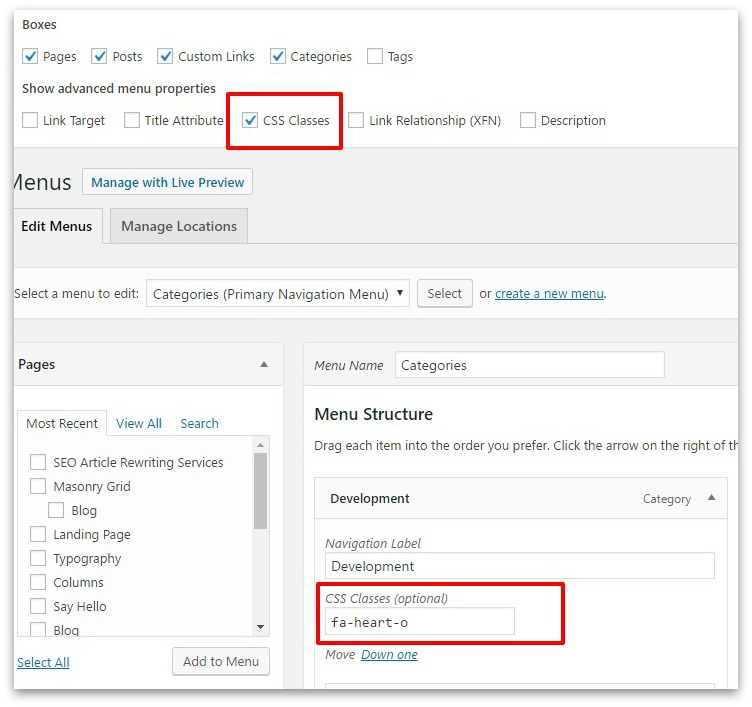
Note: Go back to Step-1 to add CSS classes to your Category menu .Use the font awesome icons to match your menu items. Here’s a screenshot to help you.

Step #4. Add the following code to display the primary menu conditionally.
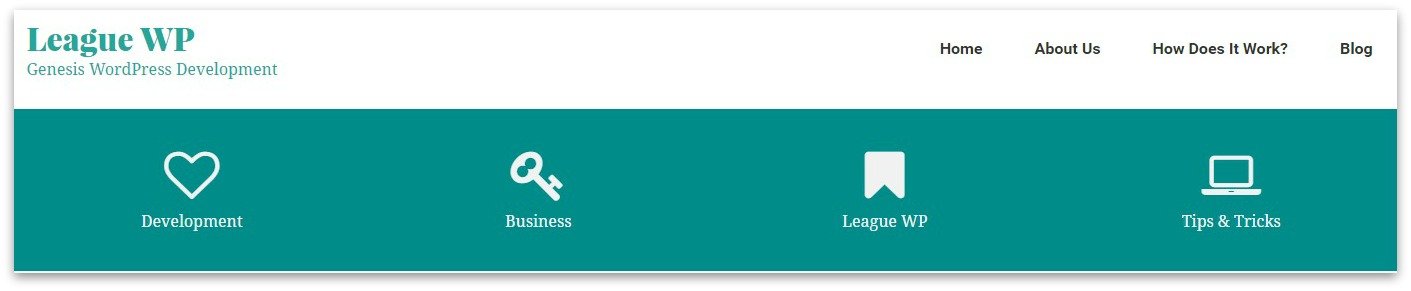
That’s it! You should be able to see a category menu on blog, archive, and posts.
Here’s a screenshot of what it looks like.

I hope you find this tutorial useful. If you have any questions, share them in the comment boxes below.